How to Clean Your Kilt Without Ruining Its Highland Charm
Hey there! If you own a kilt, you know it’s more than just a piece of clothing—it’s a symbol of Scottish pride, tradition, and Highland charm. Whether you wear it for special events, festivals, or just because you love the style, keeping your kilt clean is super important. But cleaning a kilt isn’t like tossing a t-shirt in the washing machine. Kilts are special, and you need to treat them with care to keep their shape, colors, and that awesome Highland vibe. Don’t worry, though—this guide is here to help! We’ll walk you through how to clean your kilt step by step in a way that’s easy to understand, even for a 6th grader. By the end, you’ll know exactly how to keep your kilt looking sharp without ruining its charm.
Why Kilts Are Special
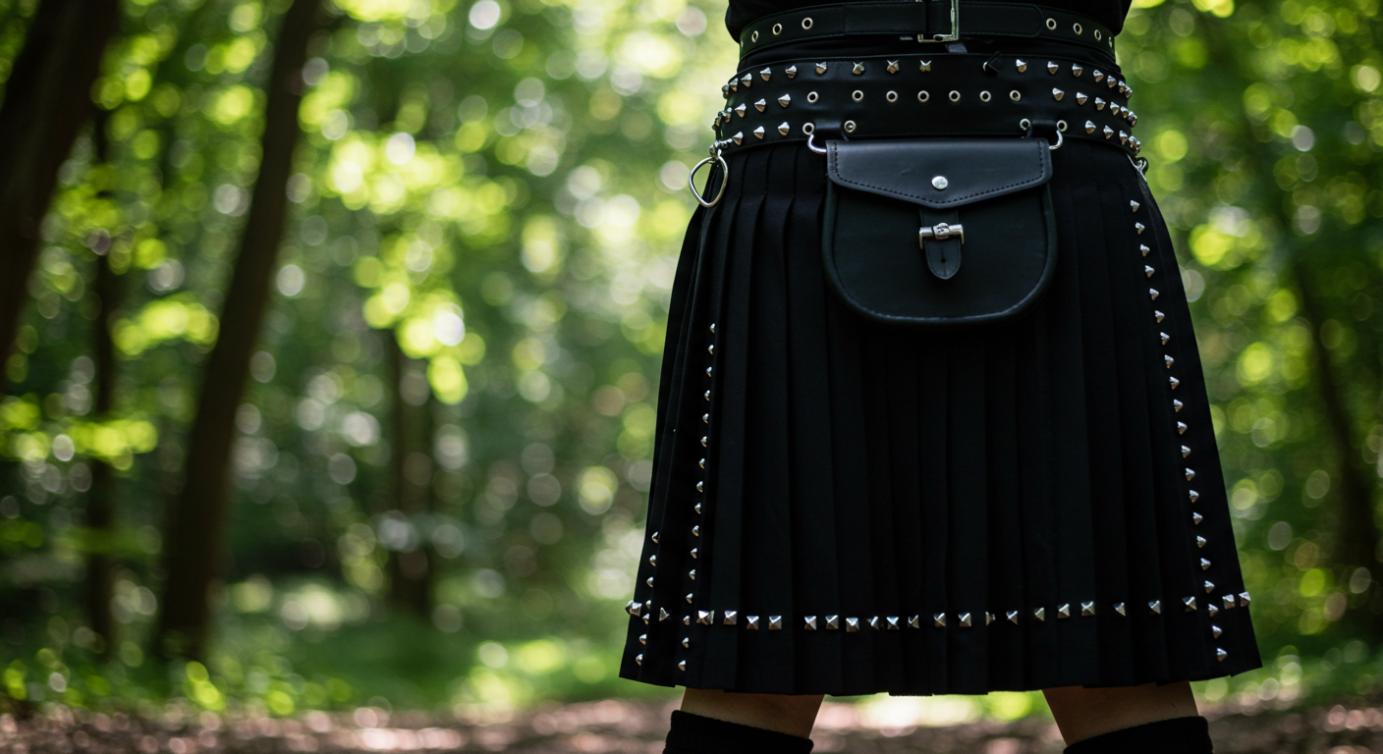
Before we dive into cleaning, let’s talk about why kilts are so unique. A kilt is a traditional Scottish garment, often made from wool or a wool blend, with a cool plaid pattern called tartan. Each tartan design can represent a family, clan, or region in Scotland, so it’s like wearing a piece of history. Kilts have pleats in the back, which give them that swishy, flowy look, and they’re usually worn with accessories like a sporran (a pouch), a belt, and a jacket.
Because kilts are made from delicate materials like wool and have a special structure, you can’t just throw them in the laundry. If you do, you might ruin the pleats, shrink the fabric, or fade the colors. That’s why cleaning a kilt takes a little extra love and care. But don’t worry—it’s not as hard as it sounds! Let’s get started with the basics.
Step 1: Check Your Kilt’s Care Label
The first thing you should do before cleaning your kilt is check the care label. This is a small tag sewn inside the kilt, usually near the waistband. The label will tell you what the kilt is made of (like wool or a cotton blend) and give instructions on how to clean it. Some kilts are “dry clean only,” which means you need to take them to a professional cleaner. Others might allow gentle hand washing. If the label is missing or faded, don’t panic! Most traditional kilts are made of wool, so you’ll want to follow the steps for wool care, which we’ll explain below.
Step 2: Spot Clean Small Stains
If your kilt just has a small stain—like a bit of food or dirt—you don’t need to clean the whole thing. Spot cleaning is a great way to freshen it up without risking damage. Here’s how to do it:
- Find the Stain: Look closely at your kilt to spot any stains or dirty areas. Common spots are around the hem (the bottom edge) or where you might have spilled something.
- Use a Damp Cloth: Get a clean, white cloth (like a washcloth) and dampen it with cool water. Don’t soak it—just make it slightly wet. If the stain is tough, you can add a tiny drop of mild soap, like dish soap or baby shampoo, to the cloth.
- Gently Dab the Stain: Press the damp cloth onto the stain and dab gently. Don’t rub! Rubbing can push the stain deeper into the fabric or damage the wool. Keep dabbing until the stain starts to lift.
- Rinse the Area: Dampen another clean cloth with just water and dab the area again to remove any soap. Then, use a dry cloth to soak up extra water.
- Let It Dry: Lay the kilt flat on a clean towel and let it air dry. Don’t hang it yet, as wet fabric can stretch out of shape.
Spot cleaning is perfect for small messes and helps keep your kilt looking great without a full wash.
Step 3: Brush Off Dirt and Dust
Kilts can pick up dust, pet hair, or small bits of dirt, especially if you’ve been wearing them outside at a festival or parade. Brushing your kilt is an easy way to keep it clean without using water. Here’s what to do:
- Get a Soft Brush: Use a soft-bristled brush, like one for clothes or even a clean, dry toothbrush. A stiff brush might damage the fabric, so be gentle.
- Lay the Kilt Flat: Spread your kilt out on a clean, flat surface, like a table or bed. Make sure the pleats are lying flat.
- Brush Gently: Lightly brush the surface of the kilt in one direction, starting from the top and moving to the bottom. Pay extra attention to areas like the hem or where the sporran sits, as those spots can collect more dirt.
- Shake It Out: Take your kilt outside and give it a gentle shake to loosen any remaining dust. Don’t shake it too hard, or you might mess up the pleats.
Brushing your kilt regularly (like once a month or after every wear) keeps it looking fresh and prevents dirt from building up.
Step 4: Hand Washing (If Allowed)
If your kilt is really dirty and the care label says it’s okay to wash, you can try hand washing. This is a careful process, so follow these steps closely to avoid damaging your kilt:
- Fill a Tub with Cool Water: Use a clean bathtub, sink, or large bucket. Fill it with cool or lukewarm water (never hot, as it can shrink wool). Add a small amount of mild detergent, like one made for wool or delicate fabrics. Stir the water to make it a little soapy.
- Soak the Kilt: Gently place your kilt in the water. Let it soak for about 10 minutes. Don’t scrub or twist the fabric, as this can ruin the pleats or stretch the material.
- Gently Agitate: Use your hands to softly swish the kilt around in the water. Focus on any dirty areas, but don’t rub too hard.
- Rinse Thoroughly: Drain the soapy water and refill the tub with clean, cool water. Gently swish the kilt again to rinse out all the soap. You might need to do this a couple of times until the water runs clear.
- Remove Excess Water: Don’t wring or twist the kilt! Instead, press it gently between your hands or against the side of the tub to squeeze out extra water. You can also lay it flat on a clean towel and roll it up to soak up more water.
- Dry Flat: Lay the kilt flat on a dry towel, shaping the pleats carefully so they stay neat. Let it air dry away from heat or sunlight, which can fade the colors or shrink the fabric. This might take a day or two, so be patient.
Hand washing is a big job, so only do it if your kilt is really dirty and the care label says it’s okay. If you’re unsure, it’s better to take it to a professional.
Step 5: Dry Cleaning for Safety
For most traditional kilts, especially those made of wool, dry cleaning is the safest option. Dry cleaning means taking your kilt to a professional cleaner who uses special chemicals (not water) to clean it. Here’s how to handle dry cleaning:
- Find a Good Dry Cleaner: Look for a dry cleaner who has experience with delicate or traditional garments. You can call ahead and ask if they’ve cleaned kilts before.
- Point Out Stains: Show the cleaner any stains or spots you’re worried about. This helps them focus on those areas.
- Ask About Pleats: Make sure the cleaner knows to preserve the kilt’s pleats. Some cleaners will press the pleats back into place after cleaning.
- Check the Kilt When You Pick It Up: When you get your kilt back, look it over to make sure it’s clean and the pleats are still sharp. If something looks off, let the cleaner know right away.
Dry cleaning might cost a bit more, but it’s worth it to keep your kilt looking amazing and protect its Highland charm.
Step 6: Storing Your Kilt Properly
Once your kilt is clean, you need to store it the right way to keep it in great shape. Bad storage can cause wrinkles, moth damage, or even ruin the pleats. Here’s how to store your kilt:
- Use a Padded Hanger: Hang your kilt on a padded hanger to avoid stretching the fabric. Clip the waistband to the hanger, and make sure the pleats are lined up neatly.
- Cover It Up: Put your kilt in a breathable garment bag (not plastic, which can trap moisture and cause mold). This protects it from dust and moths.
- Keep It Cool and Dry: Store your kilt in a cool, dry place, like a closet. Avoid damp areas like basements, as moisture can damage wool.
- Add Moth Protection: Wool kilts can attract moths, which eat tiny holes in the fabric. Put a cedar block or lavender sachet in the garment bag to keep moths away. Don’t use mothballs, as they smell bad and can leave chemicals on your kilt.
- Check It Sometimes: Every few months, take your kilt out and give it a quick brush to keep it fresh. This also lets you check for any damage or bugs.
Good storage keeps your kilt ready to wear whenever you need it, with all its Highland charm intact.
Step 7: Fixing Wrinkles and Pleats
If your kilt gets wrinkled or the pleats start to lose their shape, don’t worry—you can fix it without ruining the fabric. Here’s how:
- Use a Steamer: A handheld steamer is the best way to smooth out wrinkles and reshape pleats. Hold the steamer a few inches away from the kilt and move it gently over the fabric. Don’t let the steamer touch the kilt, as too much heat can damage wool.
- Iron Carefully: If you don’t have a steamer, you can use an iron on a low heat setting with a pressing cloth (like a clean cotton towel) between the iron and the kilt. Press lightly, especially around the pleats, to avoid flattening them.
- Hang It Up: After steaming or ironing, hang the kilt on a padded hanger and let it cool completely. This helps the pleats set back into place.
If the pleats are really messy, you might need to take the kilt to a professional tailor or dry cleaner who can re-pleat it for you.
Step 8: Avoiding Common Mistakes
To keep your kilt looking its best, avoid these common mistakes:
- Don’t Machine Wash: Unless the care label says it’s okay, never put your kilt in a washing machine. It can shrink, lose its shape, or ruin the pleats.
- Don’t Use Hot Water: Hot water can make wool shrink or felt (get all matted). Always use cool or lukewarm water.
- Don’t Hang a Wet Kilt: Wet fabric is heavy and can stretch out of shape. Always dry your kilt flat.
- Don’t Ignore Stains: If you spill something on your kilt, deal with it right away. Old stains are harder to remove.
- Don’t Store It Dirty: Clean your kilt before storing it for a long time. Dirt and sweat can attract bugs or cause stains to set.
By avoiding these mistakes, you’ll keep your kilt in tip-top shape for years.
Step 9: When to Get Professional Help
Sometimes, your kilt might need more than a quick clean at home. If it has big stains, smells bad, or the pleats are totally out of shape, it’s time to call in the pros. A professional dry cleaner or tailor who knows about kilts can handle tough problems without damaging the fabric. They can also repair small tears or loose threads to keep your kilt looking perfect.
When choosing a professional, ask if they’ve worked with kilts before. Some cleaners might not know how to handle the pleats or tartan fabric, so it’s worth checking. A good cleaner will make your kilt look as good as new while keeping its Highland charm.
Step 10: Keeping the Highland Charm
The Highland charm of a kilt isn’t just about how it looks—it’s about the pride and tradition it carries. Every time you wear your kilt, you’re showing off a piece of Scottish culture. To keep that charm alive, treat your kilt with respect. Wear it proudly at events, take care of it with these cleaning tips, and share its story with others. Maybe even learn about the history of your tartan or the clan it represents!
Cleaning your kilt the right way makes sure it stays bright, sharp, and ready for any occasion. Whether you’re dancing at a ceilidh, marching in a parade, or just wearing it for fun, a clean kilt makes you feel confident and connected to the Highlands.
Final Tips for Kilt Care
Here are a few extra tips to make kilt care even easier:
- Clean After Every Wear: Even if your kilt doesn’t look dirty, give it a quick brush or spot clean after wearing it. Sweat and body oils can build up over time.
- Rotate Your Kilts: If you have more than one kilt, switch between them so they don’t wear out too fast.
- Be Careful with Accessories: Sporrans, pins, and belts can sometimes snag the fabric. Take them off before cleaning or storing your kilt.
- Learn Your Tartan: Knowing the history of your kilt’s tartan can make you feel even prouder to wear it. Plus, it’s a fun fact to share with friends!
Wrapping It Up
Cleaning your kilt might seem like a big job, but it’s really just about being gentle and careful. By spot cleaning, brushing, hand washing (if allowed), or taking it to a dry cleaner, you can keep your kilt looking amazing. Store it properly, fix wrinkles carefully, and avoid common mistakes to make sure it stays in great shape. With these steps, your kilt will keep its Highland charm for years to come, ready to shine at any event.
So, next time your kilt needs a little TLC, don’t be afraid! Follow this guide, and you’ll have a clean, sharp kilt that’s full of Scottish pride. Now go out there and rock that kilt with confidence!